Capturing your screen on Windows is essential for work, education, or personal use. Whether you’re sharing a tutorial, saving important information, or troubleshooting errors, knowing how to take a screenshot on Windows efficiently can save time and effort.
In this 2025 guide, we’ll explore all methods for taking screenshots, shortcuts, tools, editing tips, and expert tricks to boost your productivity.
Why Screenshots Are Important
Screenshots are more than just images. They are tools for communication, documentation, and problem-solving.
- Document Important Information: Save invoices, chats, or emails for records.
- Share Quickly: Show exactly what you see on your screen with colleagues or friends.
- Troubleshoot Errors: Capture error messages to send to tech support.
- Create Tutorials: Step-by-step guides become easier with visual instructions.
In 2025, Windows provides modern screenshot tools, making it faster than ever to capture, edit, and share your screen.
Using the Print Screen Key (PrtScn) on Windows
The Print Screen (PrtScn) key is the simplest method for full-screen captures.
Steps to Use PrtScn
- Press PrtScn to capture the entire screen.
- Open Paint, Word, or Photoshop.
- Press Ctrl + V to paste the screenshot.
- Save the image as PNG (preferred) or JPEG.
Tips:
- On laptops, you may need Fn + PrtScn.
- To capture only the active window, press Alt + PrtScn.
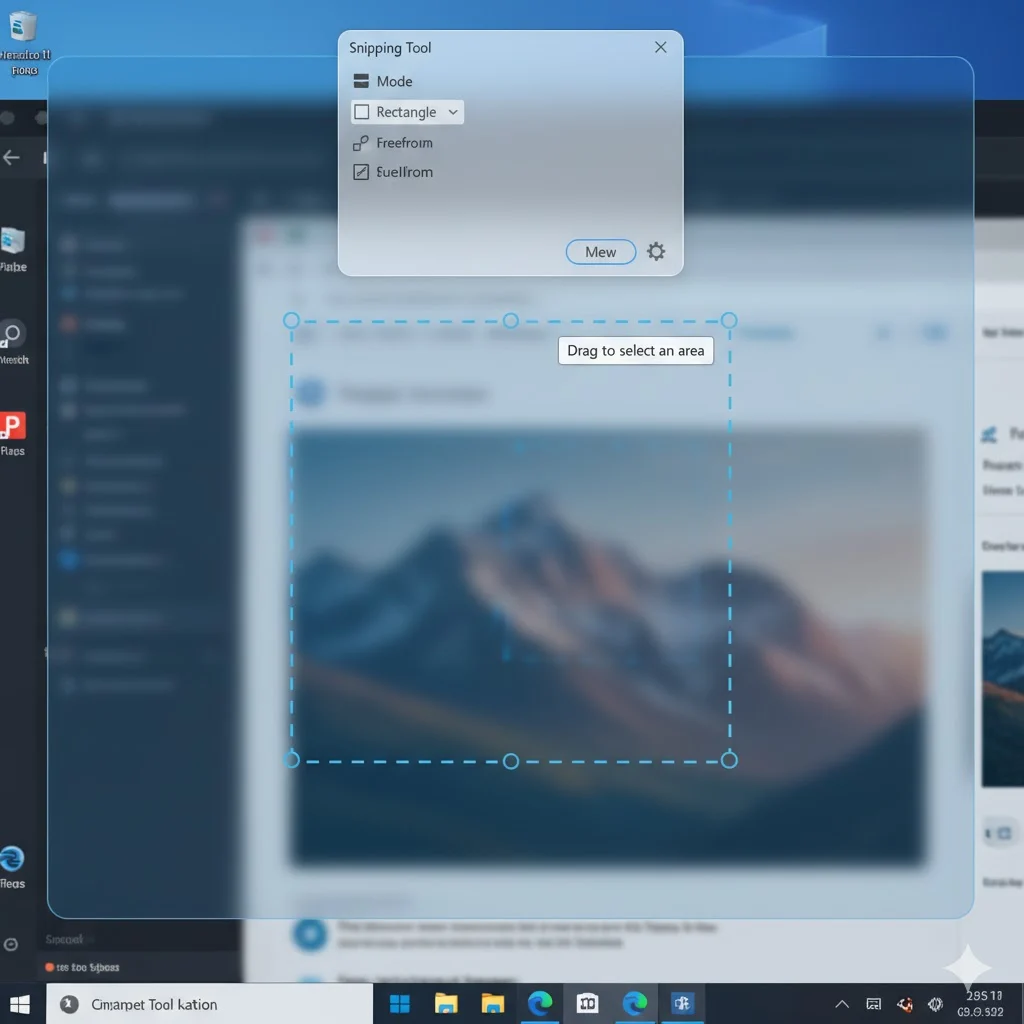
Capturing a Specific Area with Snipping Tool
Windows has a built-in Snipping Tool, perfect for capturing specific parts of your screen.
How to Use Snipping Tool
- Press Windows + S, type Snipping Tool, and open it.
- Click New and select the area of the screen you want.
- Save, copy, or annotate the screenshot.
Extra Tips:
- Use Delay Capture to capture menus or pop-ups.
- Snipping Tool supports Rectangular, Freeform, Window, and Full-Screen modes.
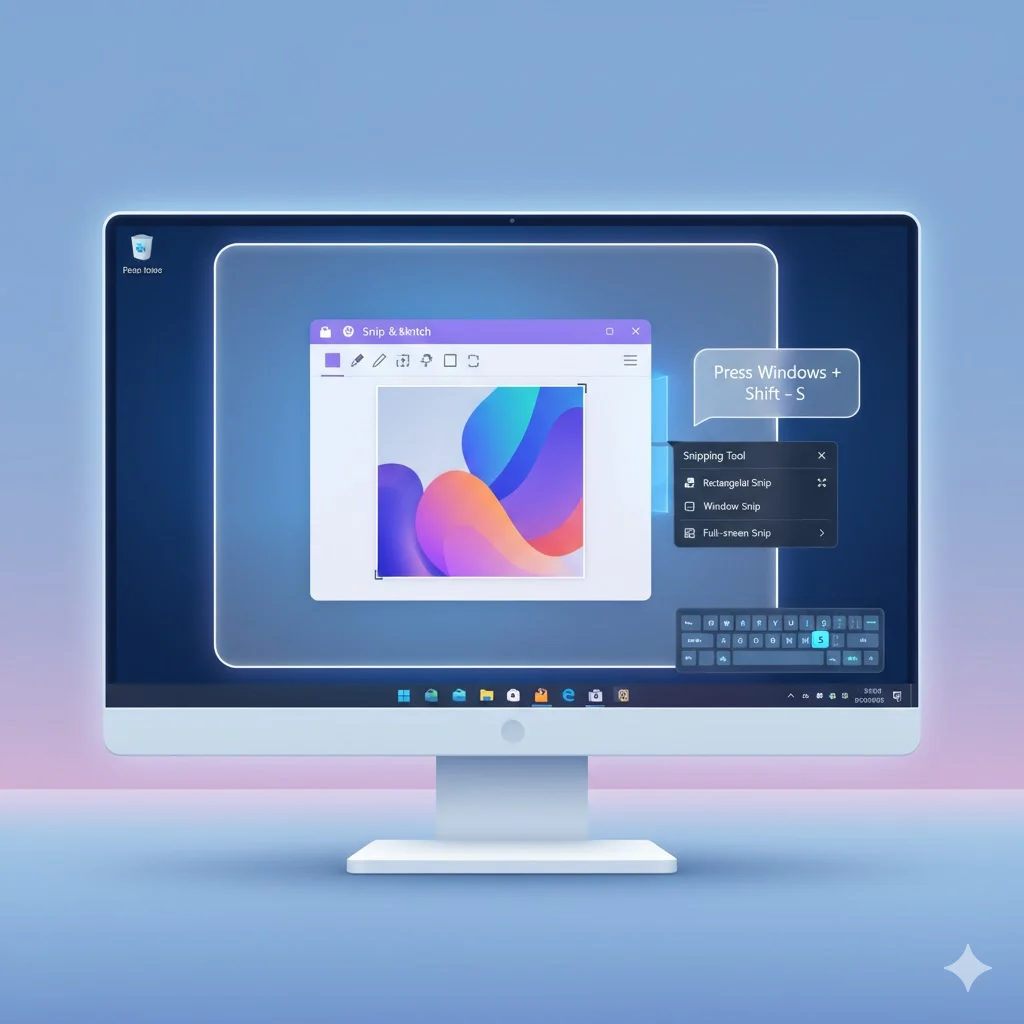
Windows + Shift + S Shortcut – Fast Partial Screenshots
For a faster workflow, use the Windows + Shift + S shortcut.
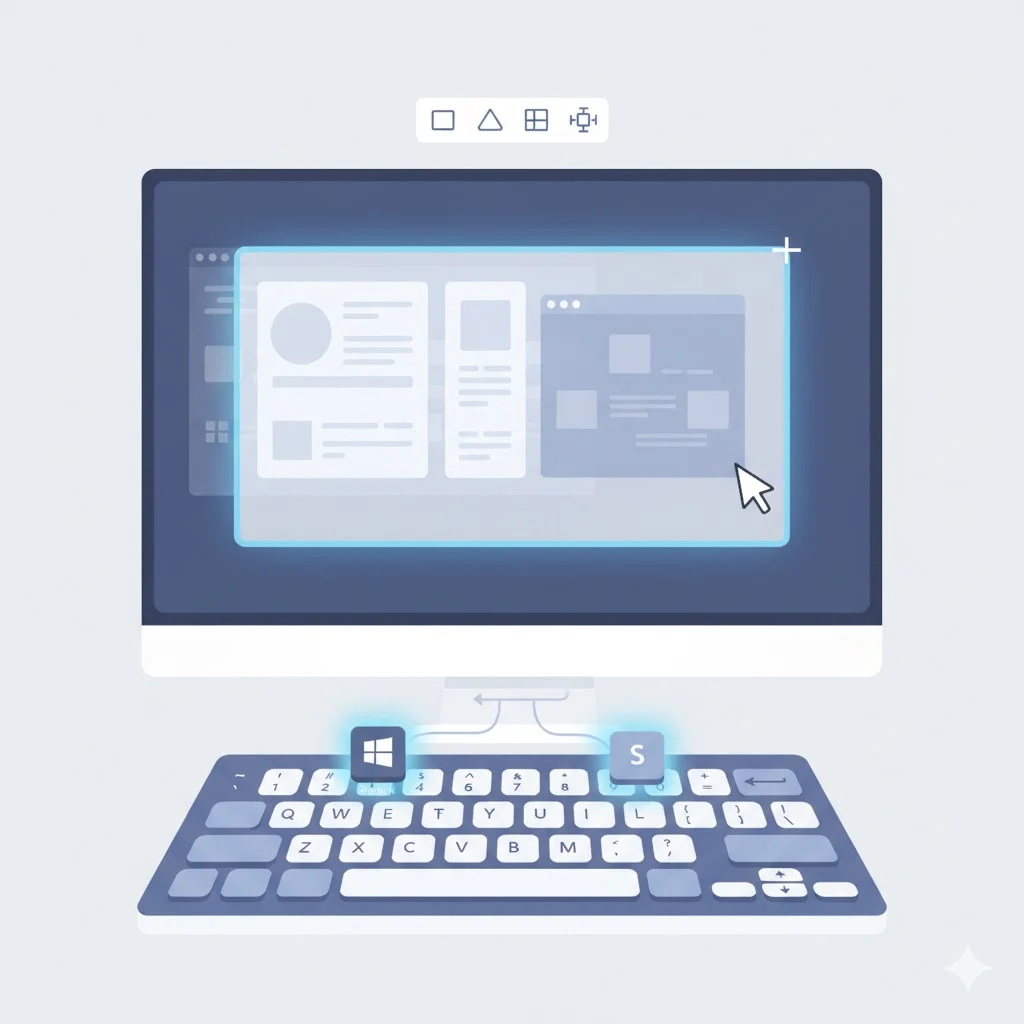
- Press Windows + Shift + S.
- Choose one of four modes: Rectangular, Freeform, Window, or Full-Screen.
- Screenshot is automatically copied to the clipboard.
- Paste in Paint, Word, or Email.
This is ideal for quick screenshots without saving files manually.
Taking Screenshots in Windows 11
Windows 11 has enhanced screenshot tools for productivity:
- Snip & Sketch Integration: Edit screenshots immediately after capture.
- Clipboard History: Press Windows + V to access multiple screenshots.
- Direct Save: Press Windows + PrtScn to save automatically in
Pictures > Screenshots. - Touch & Pen Support: Capture screens using stylus or touch gestures.
Screenshots in Windows 10
Windows 10 supports most standard methods:
- PrtScn key for full-screen captures.
- Alt + PrtScn for active window only.
- Windows + Shift + S for partial captures.
- Snipping Tool for detailed area selection.
Tip: Windows 10 users can update to Snip & Sketch for additional editing tools.
Advanced Third-Party Screenshot Tools
Sometimes built-in tools are not enough. Third-party apps provide additional features:
| Tool | Features | Price | Best For |
|---|---|---|---|
| Lightshot | Quick capture, annotate, share | Free | Casual users |
| Greenshot | Lightweight, editor, save options | Free | Professionals |
| Snagit | Video capture, advanced editing | Paid ($49) | Professionals, tutorials |
How to Edit and Annotate Screenshots
After capturing:
- Editing Options: Crop, highlight, add arrows, blur sensitive info.
- Tools: Snip & Sketch, Paint, Photoshop, Canva.
- Save Formats: PNG for quality, JPEG for smaller size.
Pro Tip: Annotate before sharing to save time.
Tips for Organizing Screenshots
- Create folders by year/month for easy access.
- Use descriptive names like
Invoice_Oct2025.png. - Backup screenshots to OneDrive or Google Drive.
- Tag screenshots with relevant keywords in Windows 11 for search.
Troubleshooting Screenshot Issues
Common problems:
- PrtScn not working: Enable Clipboard access or check Fn key.
- Snipping Tool crashing: Update Windows or use Snip & Sketch.
- Clipboard issues: Press Windows + V to manage clipboard items.
- Screenshots not saving: Ensure
Pictures > Screenshotsexists and has write permissions.
Comparison Table: Screenshot Methods
| Method | Shortcut / Tool | Pros | Cons |
|---|---|---|---|
| Print Screen | PrtScn | Simple, built-in | Requires paste in editor |
| Alt + PrtScn | Alt + PrtScn | Capture active window only | Limited editing |
| Windows + Shift + S | Clipboard | Fast, flexible selection | Needs paste/editing |
| Snipping Tool / Snip & Sketch | App | Annotate & save immediately | Slightly slower |
| Third-Party Tools | Lightshot, Snagit | Advanced editing, sharing | Paid options for pro tools |
FAQs
1. Can I take a screenshot of a locked screen?
No, Windows blocks screenshots on locked screens for security.
2. How do I screenshot just one window?
Press Alt + PrtScn and paste into an editor.
3. Can I take a scrolling screenshot?
Use third-party apps like Snagit.
4. Where are screenshots saved?
Default: Pictures > Screenshots.
5. How to annotate screenshots quickly?
Use Snip & Sketch or Lightshot.
6. Is there a timer for screenshots?
Yes, Snipping Tool offers delayed capture.
7. Do these methods work in Windows 10 and 11?
Yes, most shortcuts are compatible.
8. How to save screenshots automatically?
Press Windows + PrtScn.
9. Are screenshots high-quality in PNG?
Yes, PNG preserves quality better than JPEG.
10. Can I share screenshots directly from Windows?
Yes, use Windows + Shift + S and paste into chat, email, or apps.
Conclusion
Knowing how to take a screenshot on Windows in 2025 is essential for productivity, learning, and communication. With built-in tools like PrtScn, Snipping Tool, and Windows + Shift + S, as well as advanced third-party apps, you can capture your screen efficiently.
Remember to organize, annotate, and save screenshots for easy access. With these methods, your Windows screenshots will be fast, clear, and professional every time.